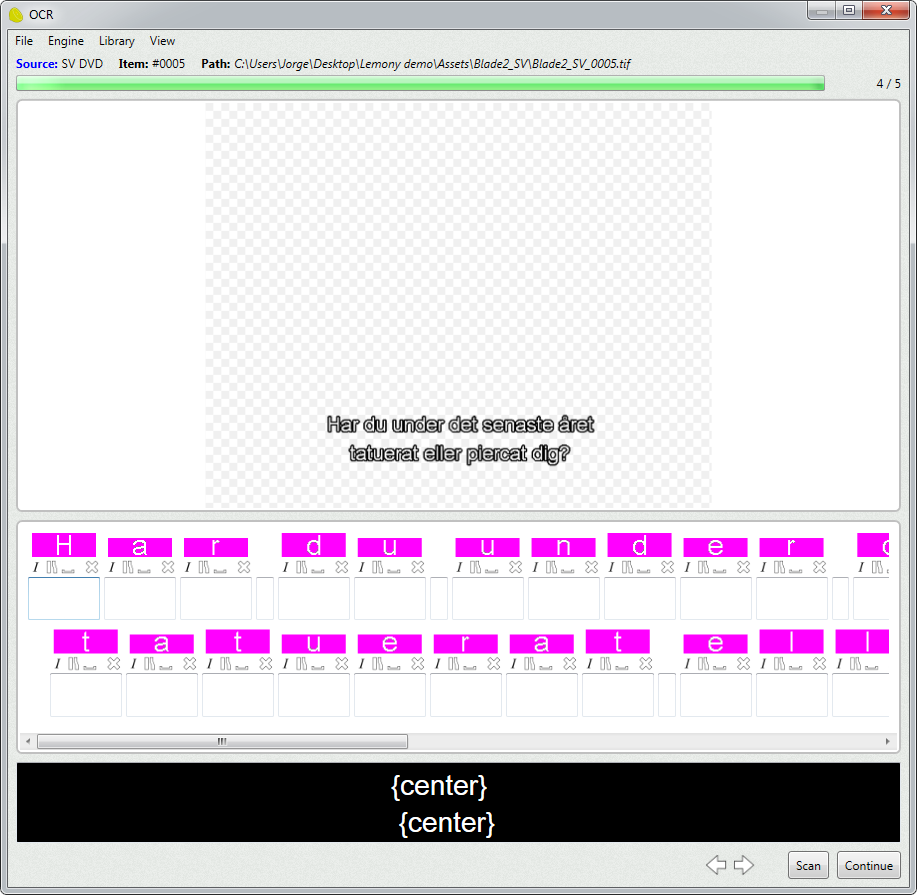
The OCR dialog allows to convert images into editable text.
In order to scan a subtitle it must point to a subpicture file, and its text must be empty.
Scan
Scans the current image, and displays the detected glyphs.
Continue
Jumps to the next scannable item, and scans it.
Engine menu
Engine
Specifies the OCR engine to use.
Open
Loads engine parameters from a file.
Save
Saves the engine parameters in the current file.
Save as
Saves the engine parameters in a different file.
Configure
Opens the dialog to configure the engine.
Reset
Resets the engine parameters.
Libraries menu
New
Creates a new library, and makes it active.
Open
Specifies a new library file and loads it.
Save
Saves the library.
Edit
Opens the library editor.
Scan using all libraries
If enabled, all libraries in the OCR folder will be used to scan images.
C:\ProgramData\Lemony Pro 5\OCR.
Reload libraries
Refreshes all the libraries.
View menu
Show guides
If enabled, text guides are displayed over the scanned image.
Show processed image
If enabled, the image is displayed as it looks pre-processed.
Auto fit
If selected, the image will fit the window.
Show engine info
If enabled, additional engine information is displayed in the dialog.
Glyphs
When a image is scanned, the detected glyphs are displayed in the glyphs panel.
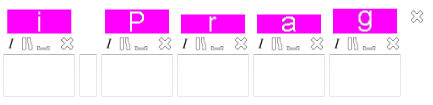
Each glyph displays its image and a text field.
The user now needs to type in the characters (or characters) for each glyph.
Italic
Makes the glyphs italic (Control+I).
Merge with next
Merges the current glyph with the next one.
Use this function when a glyph, because of its form, is recognized as two different glyphs (Control+M).
Add space before
Adds a space before the current glyph (Control+Ins).
Remove glyph
Removes the glyph (Control+Del).
Line
Remove line
Removes the line and all its glyphs.